- Strategic editing can increase average view duration by 35-45% without changing content
- Cut every 3-5 seconds during talking segments to maintain energy and eliminate dead air
- B-roll and visual variety prevent viewer fatigue - change visuals constantly
- Pacing should match content energy - speed up slow parts, slow down key moments
- Use the Video Analyzer to score your edit and identify retention weak points before uploading
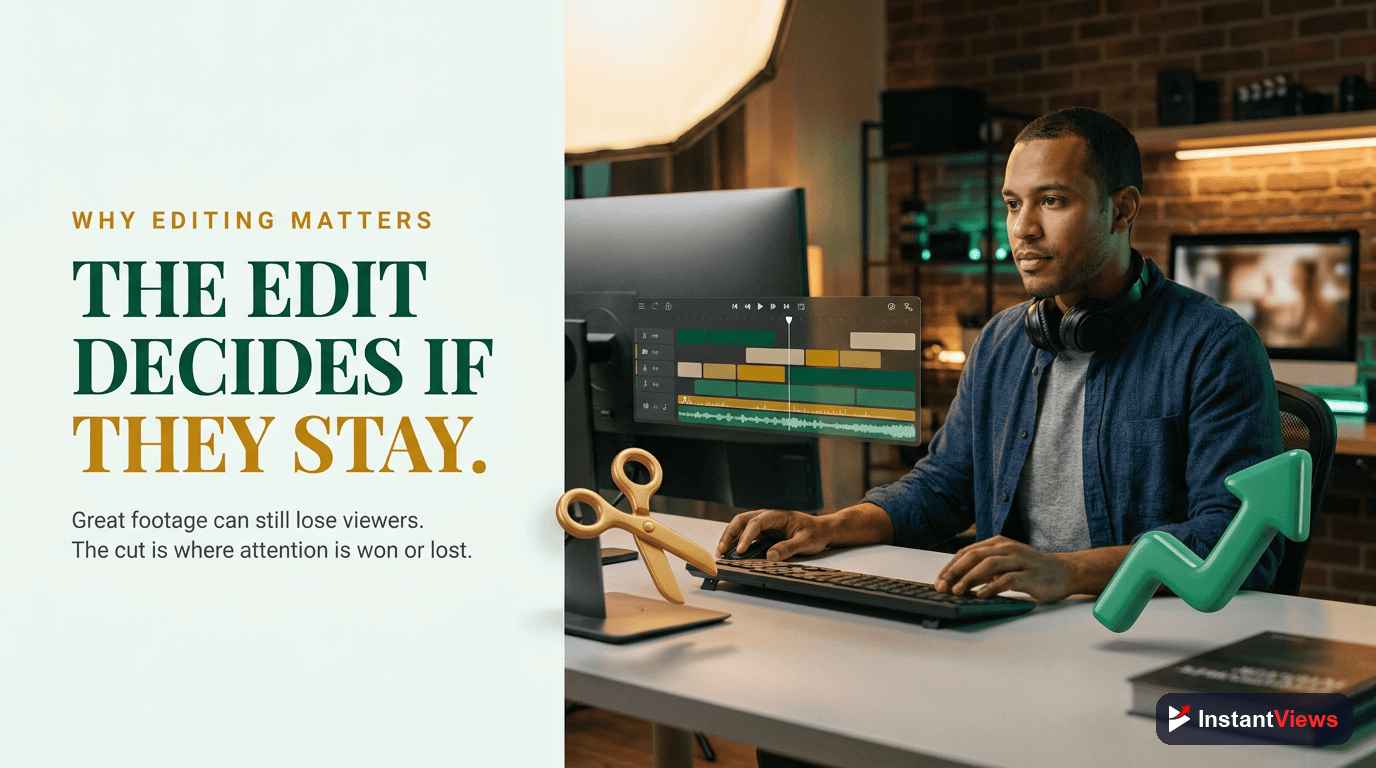
Great content can fail because of poor editing. A perfectly scripted, well-filmed video can hemorrhage viewers if the pacing drags, cuts feel awkward, or visual monotony sets in.
The best YouTube editors understand something crucial: editing is storytelling. Every cut, transition, and visual choice either keeps a viewer engaged or gives them a reason to click away.
This guide reveals the specific editing techniques that top creators use to maximize retention, from jump cuts and B-roll strategy to pacing control and engagement triggers.
Why Editing Makes or Breaks Retention
YouTube's algorithm doesn't care about your camera, lighting, or production value. It cares about one metric above all: how long people watch.
The data is clear:
- Videos with professional editing retain 40% more viewers at the 2-minute mark
- Every 10-second segment with no visual change loses 5-8% of viewers
- Strategic pacing can extend average view duration by 35-45%
- Poorly edited videos get 70% fewer impressions from the algorithm
Never leave long pauses or dead air in your edit. Even a 2-second pause feels like an eternity to viewers. Cut aggressively - you can always add back if it's too fast.
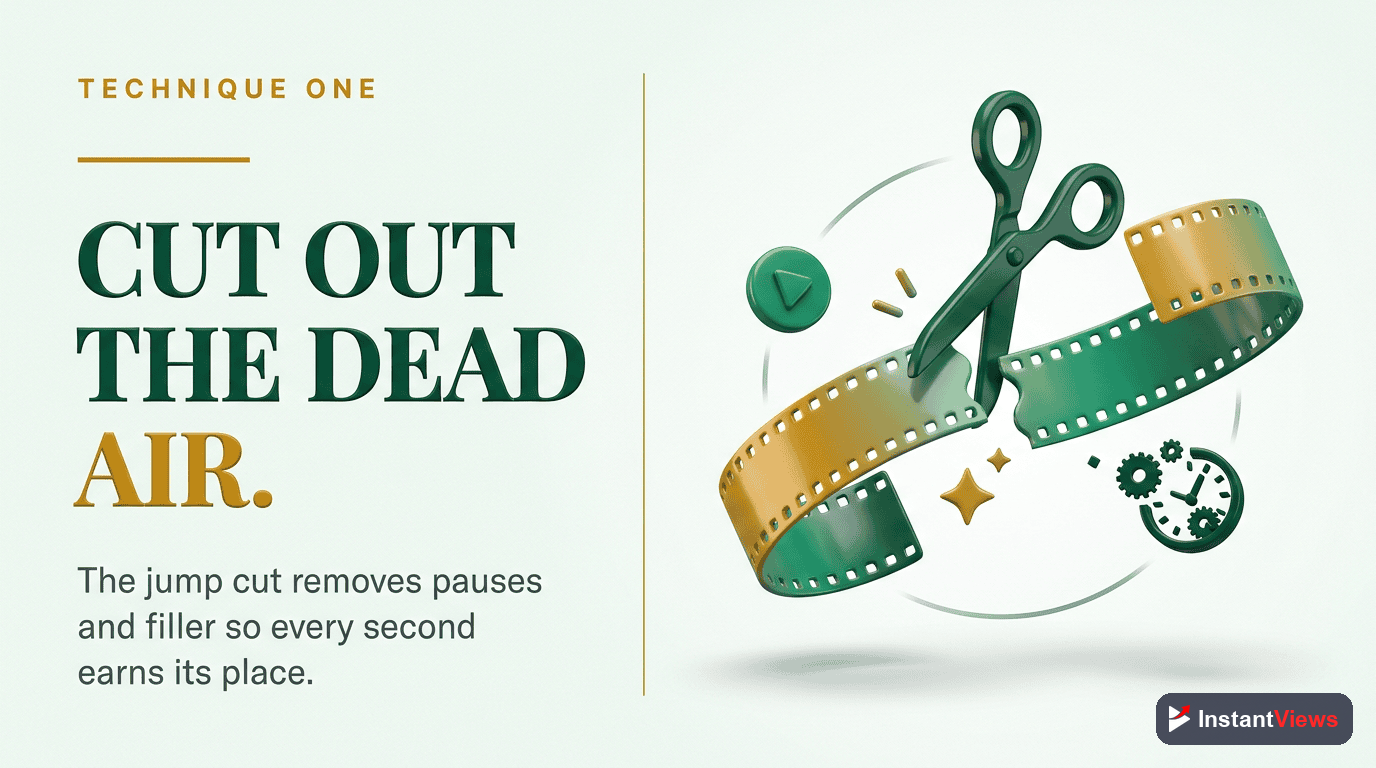
Technique #1: Master the Jump Cut
Master the Jump Cut
Remove every pause, filler word ("um," "uh," "like"), and moment of dead air. Jump cuts create energy and momentum that keeps viewers engaged.
Every talking segment should be jump-cut aggressively. The only exception is when a deliberate pause adds dramatic effect.
How to do it:
- Watch your footage and mark every pause, breath, or filler word
- Cut them all out - be ruthless
- If the jump feels jarring, slightly zoom in/out between cuts (the "punch in" technique)
- Aim for a cut every 3-5 seconds during talking segments
Watch any MrBeast, Ali Abdaal, or Casey Neistat video - they jump cut constantly. It's become the standard because it works.
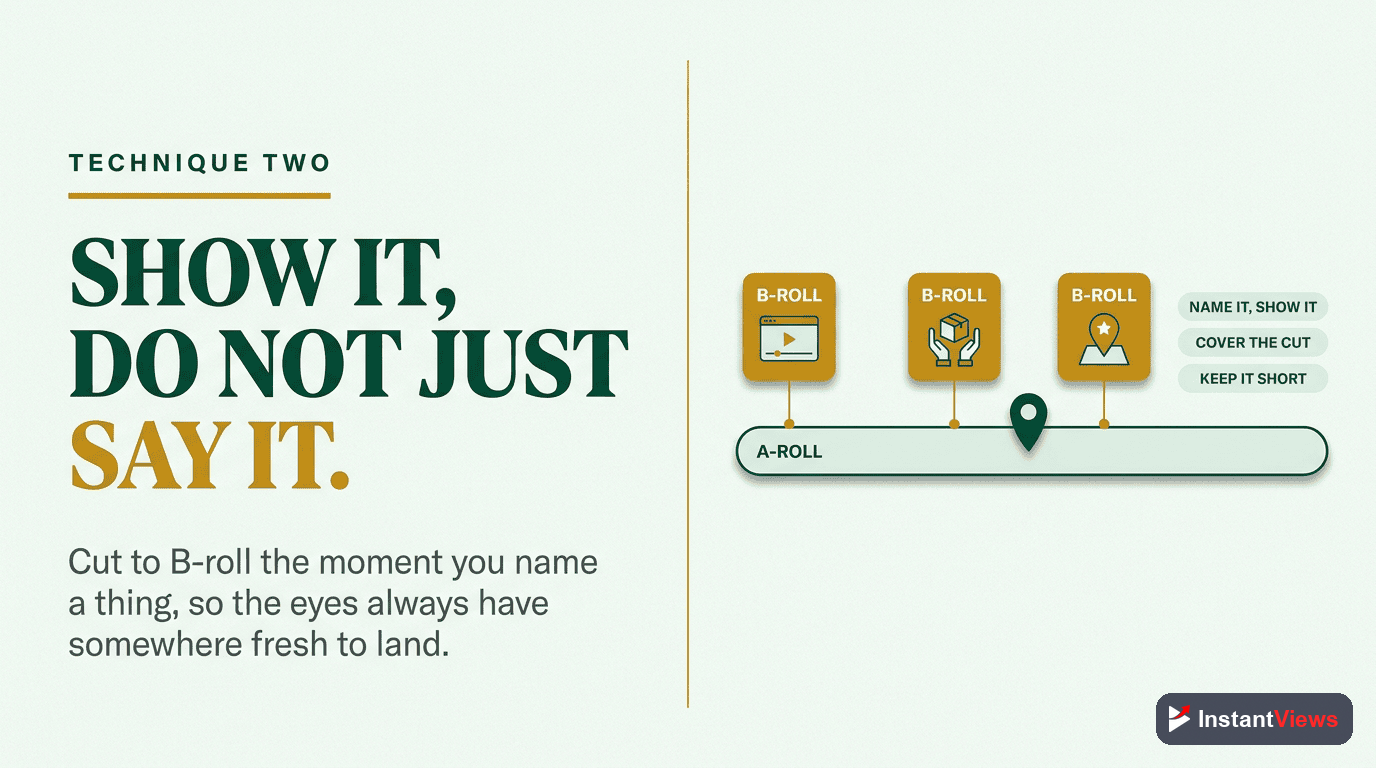
Technique #2: Strategic B-Roll Placement
Strategic B-Roll Placement
B-roll isn't decoration - it's retention insurance. Insert supporting footage whenever you sense viewer attention might wane or when explaining abstract concepts.
When explaining "YouTube algorithm," cut to screen recordings of YouTube Analytics. When mentioning "growth," show a chart trending upward.
B-roll strategy:
- Match the message: B-roll should visually represent what you're saying
- Time it right: Insert B-roll when your talking head has been on screen for 15-20 seconds
- Keep it short: 3-7 seconds per B-roll clip is ideal - any longer and it loses impact
- Add motion: Static B-roll is boring. Use slow zooms, pans, or movement
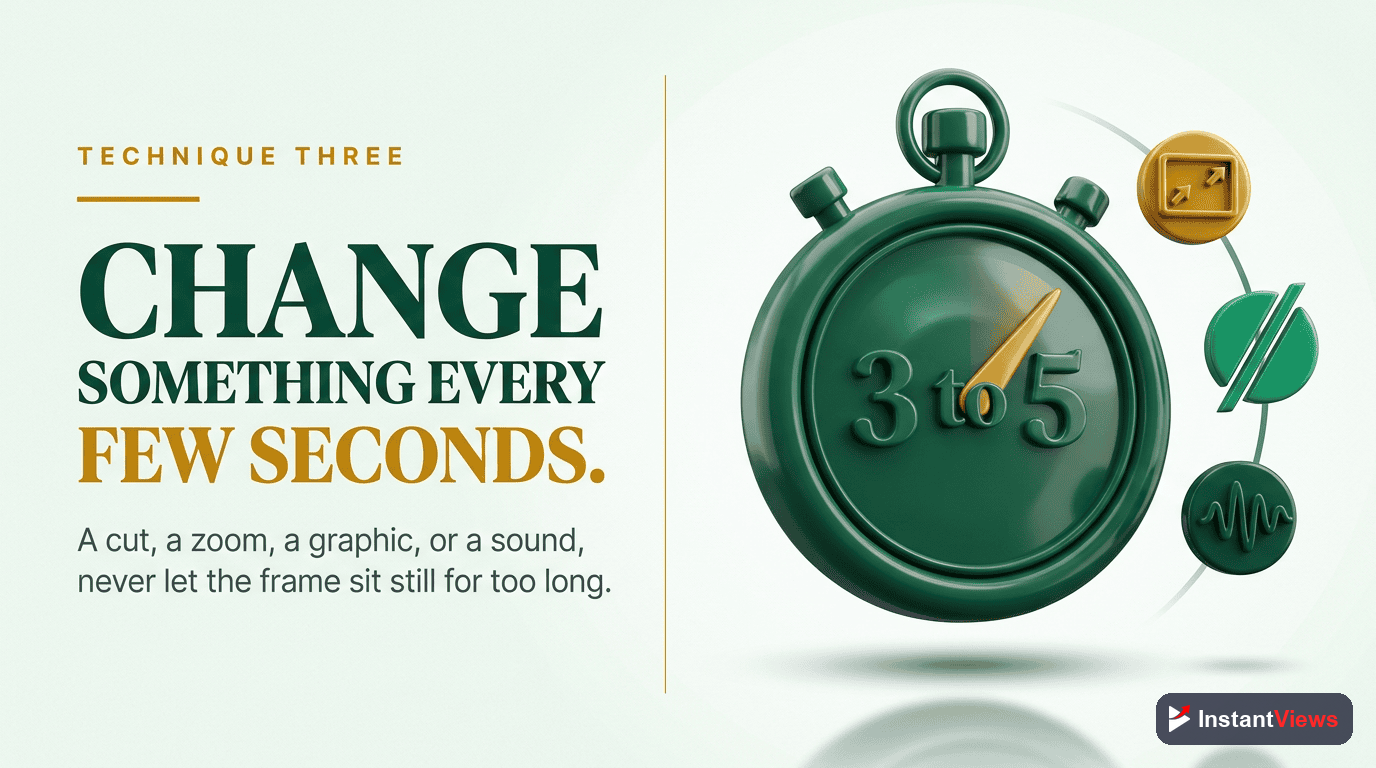
Technique #3: The 3-5 Second Rule
The 3-5 Second Rule
Never show the same visual for more than 5 seconds. Human attention spans are wired for novelty - constant visual change prevents viewer fatigue.
Cut between camera angles, add text overlays, insert B-roll, zoom in/out, or add graphics every 3-5 seconds to create constant visual variety.
Ways to create visual variety:
- Multi-camera setups: Shoot from 2-3 angles and cut between them
- Punch ins/outs: Zoom your main footage in or out slightly between cuts
- Text overlays: Add key words or phrases as on-screen text
- B-roll inserts: Quick visual examples (covered in Technique #2)
- Graphics/animations: Charts, diagrams, or animated elements
This technique is exhausting to implement but incredibly effective. It's why professional YouTube videos feel "fast-paced" even when covering complex topics.
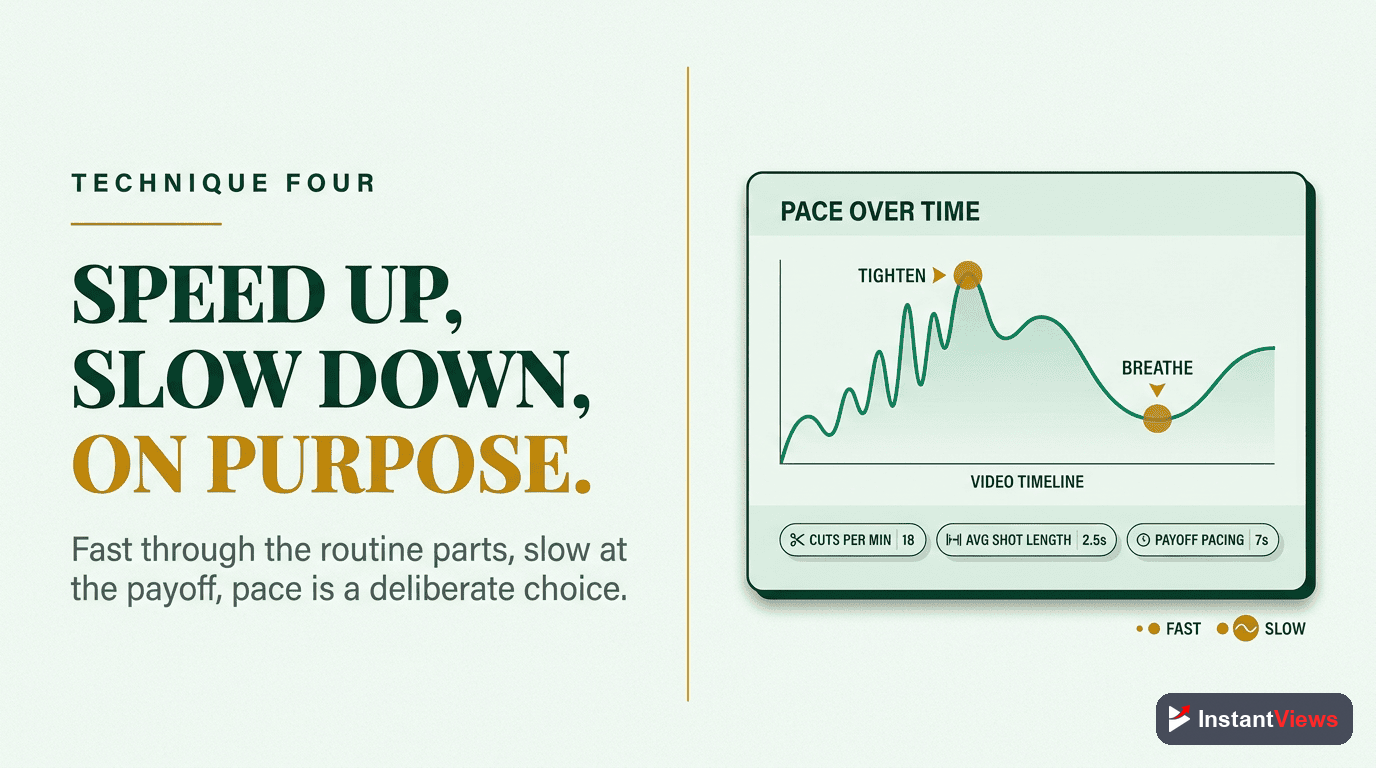
Technique #4: Pace Control & Timing
Pace Control & Timing
Not all sections of your video deserve equal time. Speed up less important segments, slow down key moments. Pacing creates rhythm and emphasis.
Speed context/setup to 1.1-1.2x speed. Play key reveals at normal speed or even slow-motion for emphasis. Vary pace to create energy.
Pacing strategy:
- Intro/hook: Fast pace, 0.5-1 second per shot
- Setup/context: Medium-fast pace, slightly speed up footage
- Key teaching moments: Slow down, let information land
- Transitions: Quick cuts, maintain momentum
- Payoff/conclusion: Return to faster pace for energy
"Pacing is invisible when it's right and obvious when it's wrong. If your video feels slow, it's an editing problem, not a content problem." - Colin and Samir
Technique #5: Text Overlays & Visual Cues
Text Overlays & Visual Cues
On-screen text isn't just for accessibility - it's a retention tool. Highlighting key words, numbers, or phrases gives viewers' eyes something to focus on.
Add text for: key statistics, important phrases, list items, tutorial steps, emphasized words, and funny commentary.
Text overlay best practices:
- Use large, bold fonts - text must be readable on mobile
- Keep it short - 1-5 words maximum per overlay
- Add subtle animations (pop in, scale up) for visual interest
- Match your brand colors for consistency
- Don't overdo it - too much text is distracting

Technique #6: Sound Design for Engagement
Sound Design for Engagement
Strategic use of sound effects, music changes, and audio cues guide viewer attention and create emotional responses that boost retention.
Whoosh sounds on transitions, subtle "pop" on text reveals, music intensity changes during key moments, silence before big reveals.
Sound design elements:
- Transition sounds: Subtle whooshes, clicks, or pops between cuts
- Emphasis sounds: Quick impacts when text appears or for key points
- Background music: Keep it low (20-30% volume) and change tracks every 2-3 minutes
- Strategic silence: Removing music before big reveals creates tension
- Voice effects: Slight compression and EQ on voice makes it more engaging
Sound effects should be subtle. If viewers consciously notice them, they're too loud or too frequent. The best sound design is felt, not heard.
Analyze Your Video Before Upload
Get instant retention predictions and editing suggestions with our Video Analyzer tool.
Check Your Video →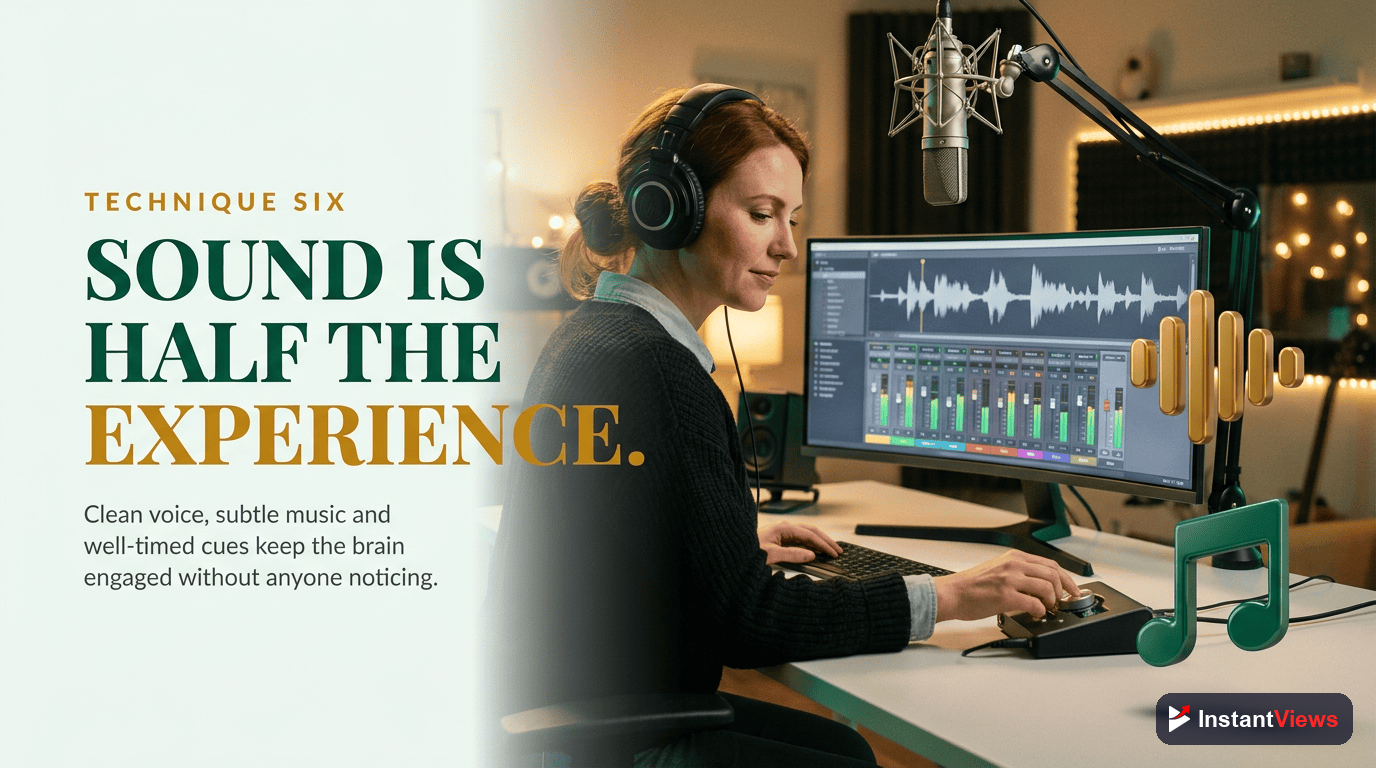
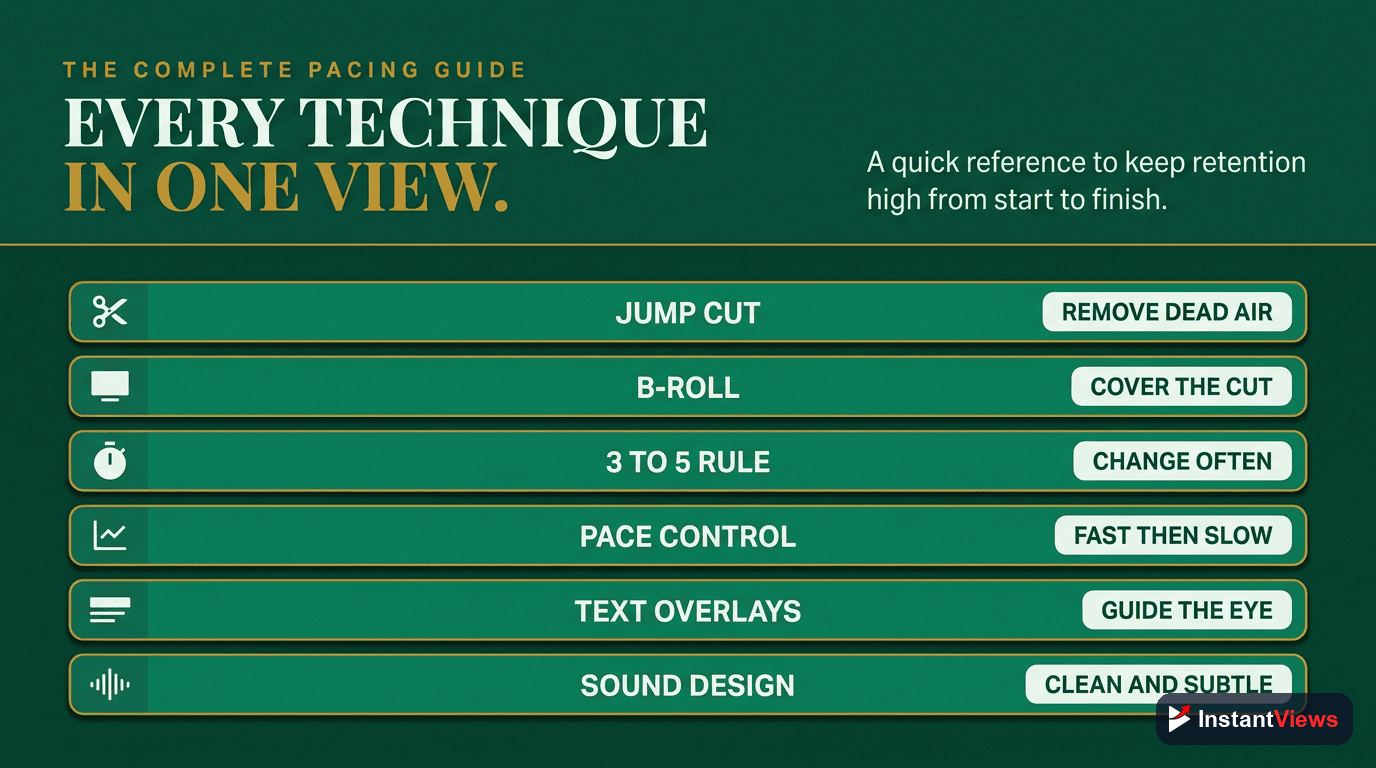
The Complete Pacing Guide
Different video segments require different pacing strategies. Here's a comprehensive guide:
| Video Section | Ideal Pace | Editing Approach |
|---|---|---|
| Hook (0-15 sec) | Very Fast | 0.5-1 sec per shot, aggressive cuts, high energy |
| Introduction | Fast-Medium | 1-3 sec per shot, establish context quickly |
| Main Content | Medium | 3-5 sec per shot, strategic B-roll every 15-20 sec |
| Key Moments | Slow | Let important info breathe, 5-7 sec per shot |
| Transitions | Fast | Quick cuts, maintain momentum, 1-2 sec |
| Conclusion/CTA | Medium-Fast | Clear and energetic, 2-3 sec per shot |
Editing Workflow for Maximum Retention
- First pass - Structure: Organize clips and build the basic story flow
- Second pass - Cut aggressively: Remove all dead air, pauses, filler words
- Third pass - Add B-roll: Insert supporting visuals every 15-20 seconds
- Fourth pass - Visual variety: Add text, graphics, zoom effects
- Fifth pass - Sound design: Add music, sound effects, audio polish
- Sixth pass - Pacing check: Watch at 1.5x speed - if it drags, cut more
- Final pass - Test view: Watch as if you're a viewer - where would you click away?
The 80/20 of Video Editing
If you only do three things, do these:
- Cut every pause and filler word - This alone will improve retention by 30%
- Add B-roll every 15-20 seconds - Prevents visual monotony
- Change something visually every 3-5 seconds - Keeps eyes engaged
Master these fundamentals before worrying about fancy transitions, color grading, or complex effects. Retention-focused editing is about rhythm, pace, and keeping attention - not showing off technical skills.
Frequently Asked Questions
There's no universal rule, but for high-retention videos, cuts typically happen every 3-5 seconds during talking segments. The key is cutting whenever there's a pause, filler word, or dead air. Fast-paced content may cut even more frequently - every 1-2 seconds.
Yes! Jump cuts work extremely well in educational content. They remove dead space, maintain energy, and keep viewers engaged. Even traditionally formal content benefits from strategic jump cuts. The key is making them feel natural, not jarring.
Check your YouTube Analytics retention graph. If viewers drop off during specific sections, your pacing may be too slow there. If comments mention feeling "rushed" or you see quick drops at transitions, you might be too fast. Aim for 80%+ retention in the first 30 seconds.
Most professional editors use Adobe Premiere Pro, Final Cut Pro, or DaVinci Resolve. However, the software matters less than the techniques. Even free tools like CapCut or DaVinci Resolve Free can create high-retention edits when you apply the right principles.
Good editing doesn't require expensive tools. Start with free software and focus on mastering retention techniques - pacing, cuts, and engagement. Invest in paid tools only when you've maxed out free options. Your editing skills matter far more than your software.
Yes! Use the InstantViews Video Analyzer to get a retention prediction and specific editing suggestions before you upload. You can also show your video to a small test audience and watch where they lose interest.